You launch a generation, you wait, and the disappointment lands in the same place every time. The light is flat. The skin looks like polished plastic. The character glides instead of walking. Realistic AI video is not a matter of luck: the same causes produce the same flaws, and each one is fixed on its own.
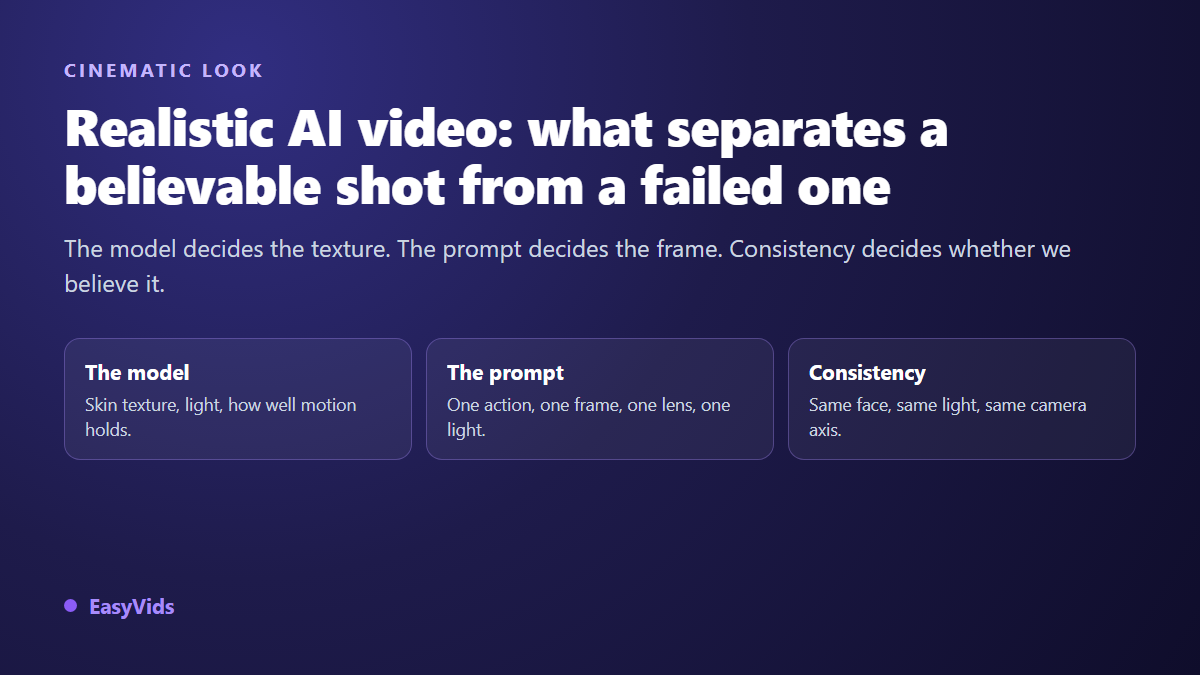
This guide follows what we see most often across our own generations. Three things decide the result: the model you send at the shot, the way you describe the scene, and the consistency between consecutive shots. They are not interchangeable, and the third one is usually what breaks first. Our complete guide to AI video generators covers the full chain these three levels sit inside.
The short answer
For a cinematic look, pick a model that can hold the duration and the kind of motion your shot needs, describe a scene rather than a subject (one action, a framing, a focal length, a named light source, a texture), then lock consistency across shots with reference images. All three matter, in that order. A premium model fed a vague prompt produces a less believable shot than a fast model fed a precise description.
Why a generated shot gives itself away in three seconds
Viewers do not reason, they detect. Their eyes have spent thousands of hours on filmed images, and they notice the gap long before they can name it. The warning signs are almost always the same, and none of them has anything to do with resolution.
- Light coming from everywhere at once, with no consistent shadow and no identifiable source.
- Skin that is too smooth: no pores, no small imperfections, no shine on the forehead.
- A camera move that floats, with no weight and none of the tiny shake of a handheld shot.
- Hands, teeth and on screen text that distort as soon as the shot runs longer.
- A background that is too clean: no dust, no clutter, no life around the subject.
Here is the part that changes how you work: most of these flaws are fixed in the description, not in the choice of tool. A large share of the craft consists of putting back the imperfection the model tends to erase.
Realism happens on three levels
Split the problem before you attack it. The model supplies the material: grain, fabric, reflections, the stability of shapes from frame to frame. The prompt supplies the staging: what we see, from where, under which light. Consistency ties the shots together. One weak link is enough to bring the whole thing down.
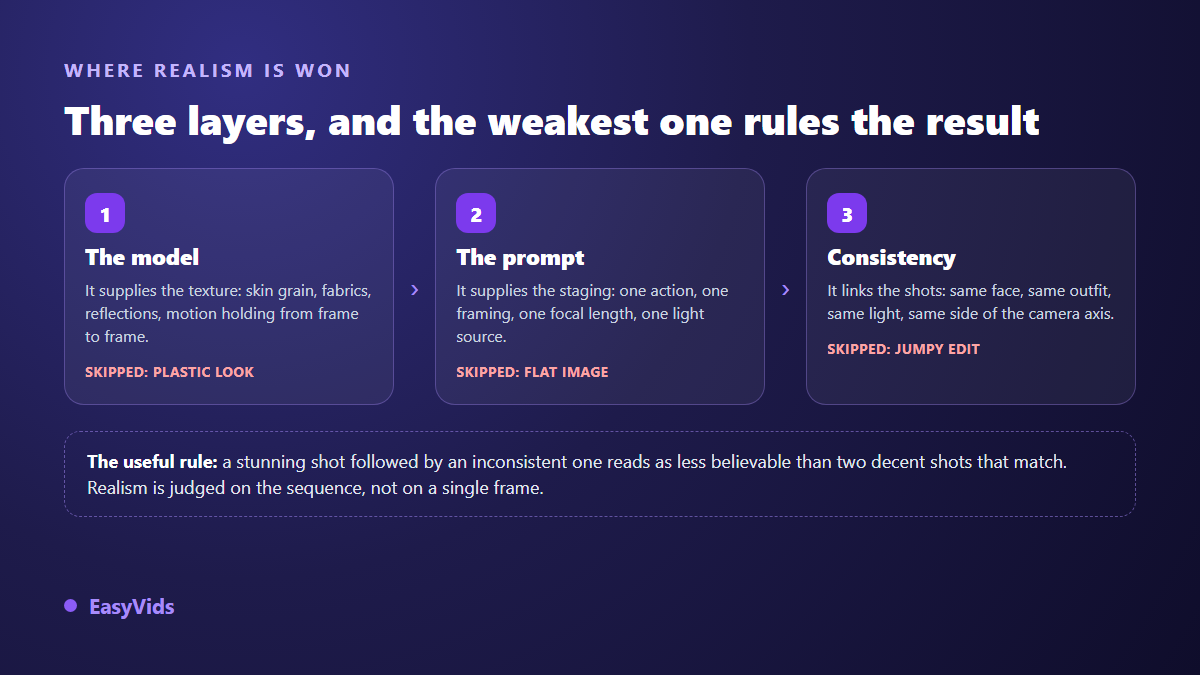
This split changes how you correct. When a shot disappoints, ask first which level it belongs to. Plastic skin is a model and texture vocabulary problem. A dull framing is a prompt problem. A face that changes between two scenes belongs to neither: it is a reference problem.
Picking a model: the shot decides, not the leaderboard
There is no best video model in the abstract, and any ranking written this month will be wrong next month. There are, however, model families with stable temperaments. Some hold faces very well and produce synchronised sound on short clips. Others accept longer durations and wide camera moves. Others shine at animating a photo you supply, which remains the safest route when a real product has to appear on screen.
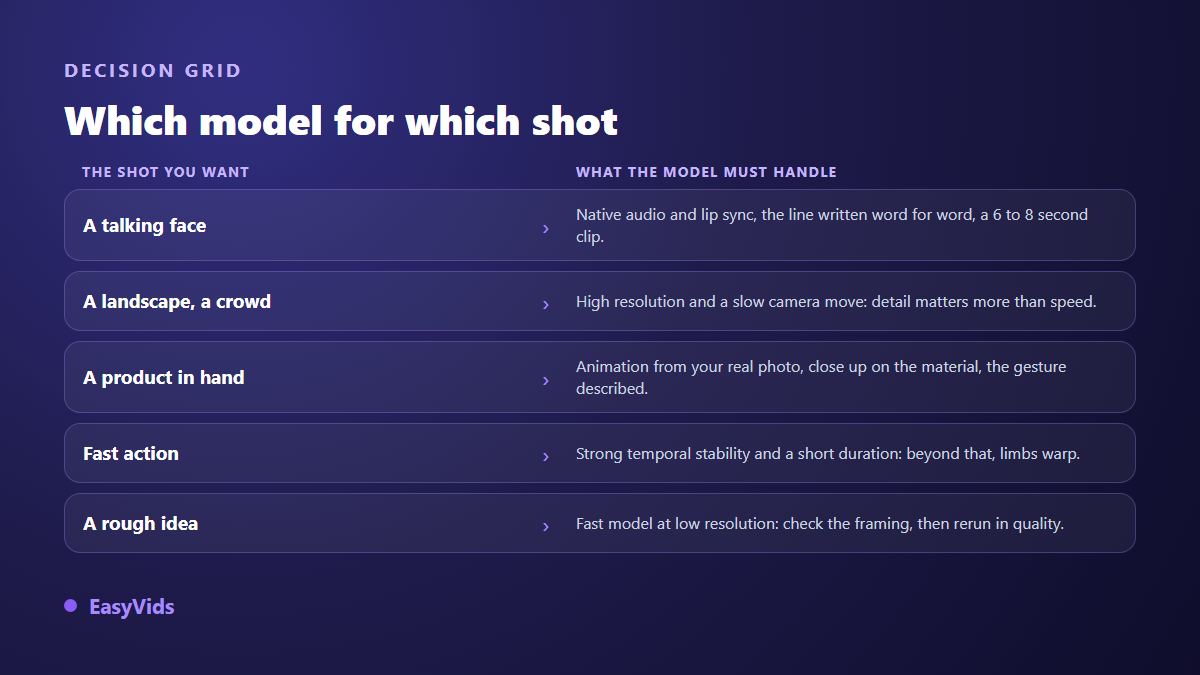
Inside the EasyVids Director, the video model selector greys out any model that cannot produce the duration your scene split targets, so you never ask twelve seconds from a model that only outputs eight. The credit cost sits next to each name, which makes the trade off visible before you launch. Plan details live on the pricing page.
The habit that saves the most time is working in two passes. A draft pass on a fast model at low resolution, to validate framing, gesture and rhythm. A final pass on a stronger model, only on the shots you approved. Generating straight to maximum quality means paying full price for every failed attempt.
Prompting: six building blocks beat twenty adjectives
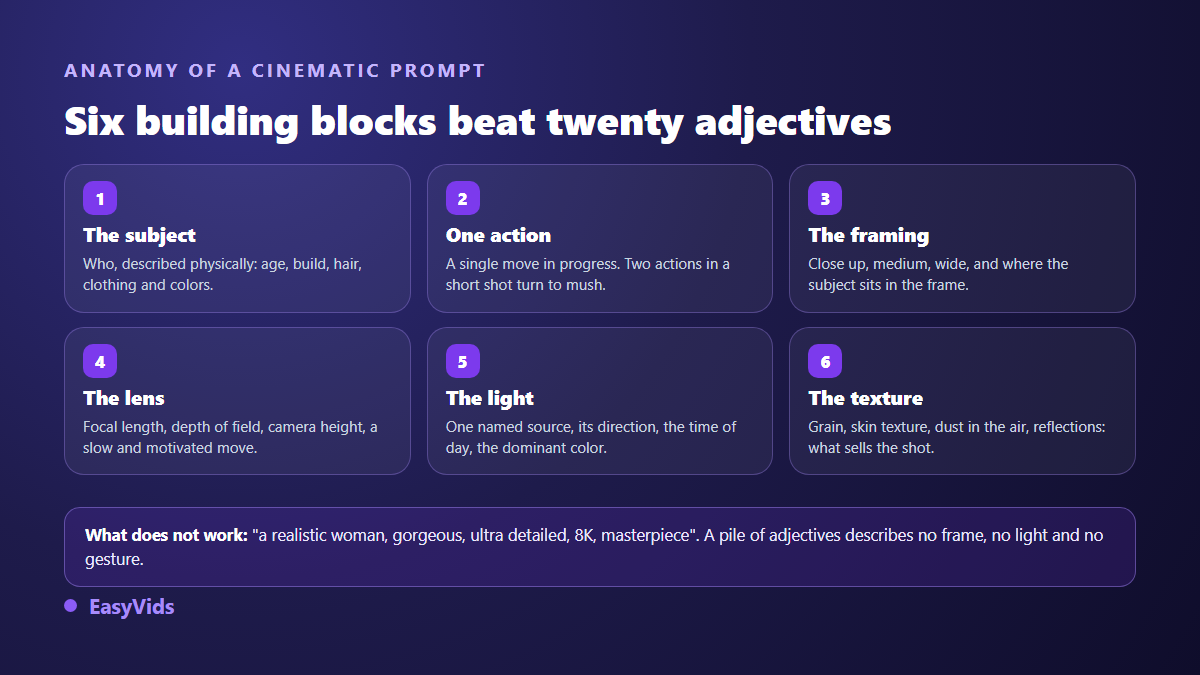
The common reflex is to stack strong words: ultra realistic, cinematic quality, masterpiece. Those words describe nothing. A video model needs a scene, not a value judgement. Six blocks are enough, and having them all matters more than their order.
- The subject, described physically: apparent age, build, hair, clothing and colours. Never a first name, which means nothing to the model.
- One action in progress. Two gestures inside a six second shot produce mush.
- The framing: close up, medium, wide, and where exactly the subject sits in frame.
- The lens: focal length, depth of field, camera height, and a slow move that has a reason.
- The light: a named source, its direction, the time of day, the dominant colour.
- The texture: grain, real skin, dust in the air, reflections, everything that gives the world thickness.
One more habit, often skipped: say what you do not want. No eye contact with the camera keeps your character from staring down the lens like a stock photo. No background music stops the model from laying a pad over your voice over, since most recent video models generate sound as well.
Light, lens and texture: the words that do the real work
Three families of words carry most of the cinematic effect, and they come from film sets rather than software. Light first: a window on the left in late afternoon, a backlight carving a silhouette, a desk lamp pooling warm light in a dark room. Naming the source and its direction creates depth, where well lit produces nothing but a flat image.
Then the lens. A short focal length widens the field and bends the edges slightly, a long one compresses planes and isolates the subject against a soft background. Shallow depth of field is probably the highest yielding term in the whole vocabulary: it imitates a cinema sensor instantly. Texture last. Ask for real skin, fabric that creases, condensation on a glass, dust visible in a shaft of light. An image with no flaw at all is an image nobody believes.
Motion: film it, do not shake it
Many shots fail because they are asked to move in too many ways at once. The subject walks, the camera orbits, the light shifts: the model has to invent too much between frames, and shapes degrade. A believable shot usually holds one slow move with a reason behind it. The camera pushes gently toward the face because the line tightens. It follows the hand because the gesture carries the action.
Duration comes next. The longer the clip, the more drift accumulates, especially on hands, profiles and burned in text. Across our own productions, a six to eight second shot holds together far better than a fifteen second take of the same action. When a scene needs to last, cut it into two consecutive shots instead of stretching one clip.
Consistency is where realism is won or lost
A single frame can be gorgeous and the video still feel wrong. From the second scene onward, viewers compare. If the face has changed, if the jacket shifts from beige to grey, if morning light becomes evening light, the illusion collapses. Two habits fix it: generate one reference image per character and per location, attach it to every scene where that element appears, and repeat the character signature word for word, hair and outfit included. Our article on keeping the same character across scenes walks through the method.
A third habit comes from classic editing: the 180 degree rule. When two consecutive scenes show the same people in the same place, fix their positions on screen in the first one and keep the camera on the same side of the axis. Flipping left and right between shots breaks the cut, even when each shot is flawless on its own.
Resolution, duration and aspect ratio
High resolution does not make an image more believable. It makes what is already there more visible, the good and the bad alike: a badly lit shot stays badly lit, only sharper. Render your tests low, raise resolution for the final version only, and remember your viewer is probably watching on a phone. Aspect ratio, on the other hand, is decided before the first generation, never at export: a shot framed in 16:9 and cropped to 9:16 always loses an edge, often the subject with it.
Five deliberate attempts beat fifty random ones
The gap between a creator who lands a cinematic look and one who burns out is not budget, it is method. Change one variable at a time, otherwise you will never know what worked.
- Render the shot in draft quality on a fast model, just to judge the framing.
- Fix light and frame first: they carry most of the effect.
- Simplify the action if shapes distort: one gesture, a shorter shot.
- Add texture vocabulary next, then the useful exclusions.
- Only move to final quality on shots whose composition already convinces you.
A realistic look also means disclosing it
The more believable your image, the more publishing rules apply to you. According to the YouTube help centre, creators must flag in the upload form when a video contains realistic content generated or altered with artificial intelligence, especially when it could make viewers believe in a scene or in words that never existed. The platform then adds a note in the description, and shows it on the player for sensitive topics. Making an image is not the problem; letting people think it was filmed is. On the technical side, the C2PA standard, maintained by the Coalition for Content Provenance and Authenticity, defines a provenance metadata format that several generators now attach to their files.
Frequently asked questions
Which model produces the most realistic AI video?
That is rarely the useful question, because the answer changes with every update. Ask instead which model can produce the shot you need: a talking face with sound, a wide camera move, a real photo brought to life. A studio that lets you switch models without rebuilding the project beats betting on a single name.
Why do faces change between my scenes?
Because a written description, however detailed, leaves room for reinterpretation on every generation. You need a reference image of the character attached to each scene, plus a signature repeated identically, hair and outfit included. Without references, the face drifts by the second shot.
Do I need maximum resolution for a cinematic look?
No. The cinematic look comes from light, framing and depth of field, not from pixel count. High resolution mainly serves large screens or later cropping. For vertical video watched on a phone it adds little and lengthens render times.
Can I get realistic results without writing English prompts?
Yes. You describe your idea in your own language and the tool writes the technical prompts in English, the language these image and video models answer best. You keep control: every scene prompt stays editable before a relaunch, and a single scene can be regenerated without touching the others.
How many attempts does one good shot take?
Expect three to five attempts on a difficult shot, provided you change one thing at a time. A simple shot, well described from the start, often comes out usable on the first try. Time gets wasted relaunching the same prompt and hoping for a luckier draw.
A cinematic look is not a hidden setting: it is a sequence of decisions taken in the right order, from the model you pick to the cut between two shots. Take a shot that disappointed you, apply the six blocks, change one variable, compare. To try the method on a real project, create your account and render a first scene: the EasyVids studio keeps the models, the prompts and character consistency in one place.