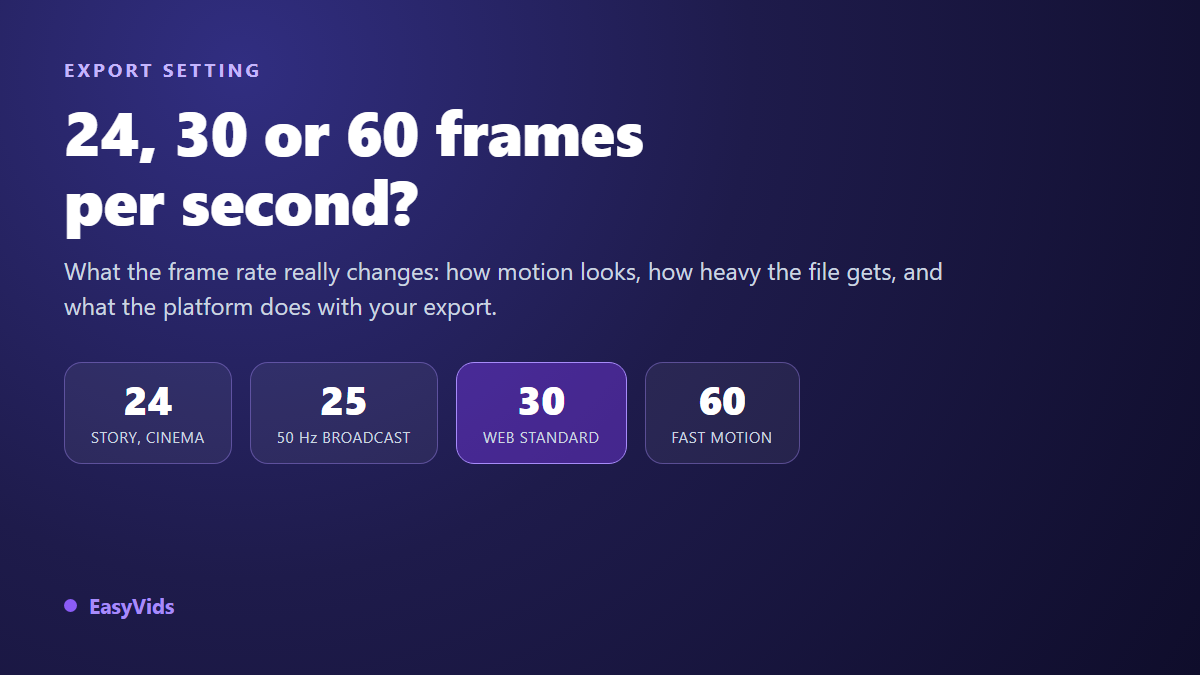
You reach the export screen and the tool asks for a frame rate: 24, 30 or 60. Choosing the best fps for video looks like a minor decision, squeezed between resolution and file format. It decides three very concrete things: how your motion is perceived, how heavy the final file is, and how much work the platform has to do before serving your video to anyone.
Most of the time, leaving the default alone is the right move. Trouble starts when a video stutters for no visible reason, when a slow motion shot looks like a slideshow, or when a file doubles in size while the picture stays the same. In all three cases, frame rate is usually the culprit. Sizes, ratios and durations follow a different logic, and our guide to video formats platform by platform covers those.
The short answer
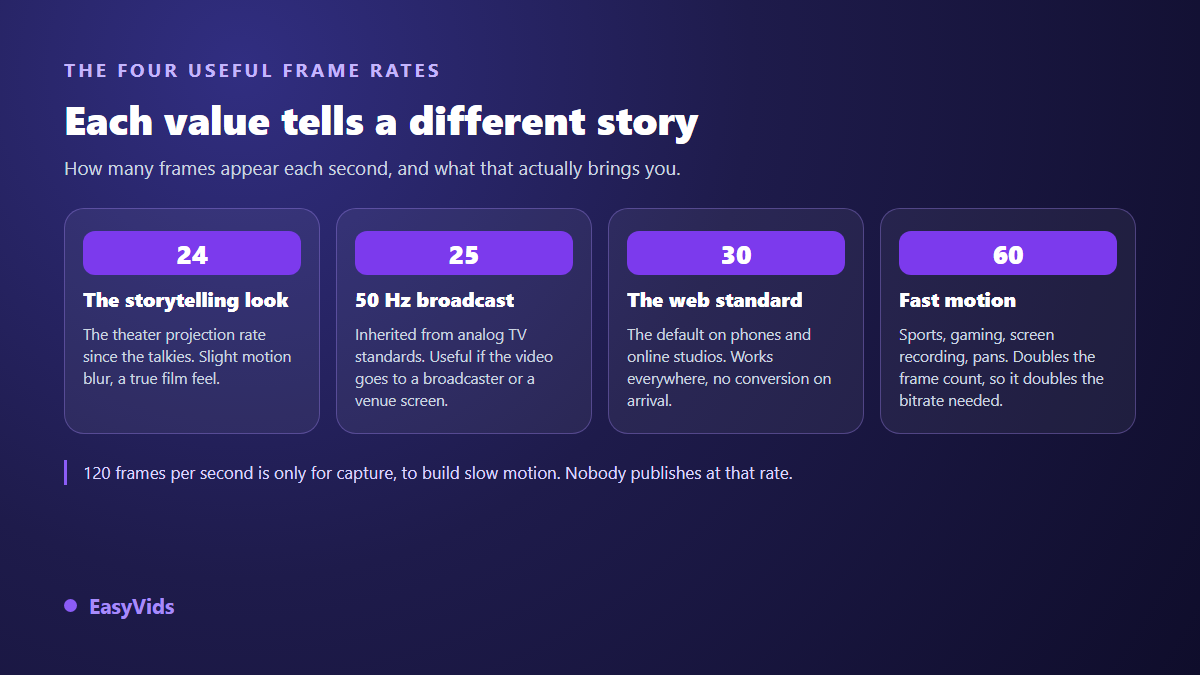
Export at 30 frames per second. It is the value that travels everywhere on the web, the one most phones and online studios produce, and the one that avoids any conversion on arrival. Drop to 24 when you want the look of a fiction film. Pick 25 if the video is heading for broadcast in a 50 Hz region. Go to 60 only for fast continuous motion: sport, gaming, screen capture, wide camera moves. Above that, 120 frames per second is a capture setting, never a publishing setting.
What a frame rate actually measures
A video is a series of still images shown fast enough for the brain to read continuous motion. Frame rate says how many of those images make up one second. At 30 frames per second, a new image appears roughly every thirty three thousandths of a second. At 60, every sixteen. The p you sometimes see next to a resolution is a different matter: it means progressive scanning, where every frame is complete, as opposed to the interlacing inherited from television.
Two myths keep circulating. The first says the eye stops perceiving anything above a given number of frames. Perception does not work like a counter: the feeling of smoothness depends as much on the motion blur inside each frame as on how many frames there are. The second says a higher frame rate gives a sharper picture. Also false. Sharpness comes from resolution, focus and the bitrate given to the encoder, never from frame count.
24 frames per second: the storytelling rate
Cinema projection standards have used 24 frames per second since sound film became general, at the end of the 1920s. The number is not magic: it was the lowest rate that could carry a decent optical soundtrack without wasting film stock. A century later, audiences read that cadence as fiction. The same scene at 24 feels like a film, and at 60 feels like a live capture.
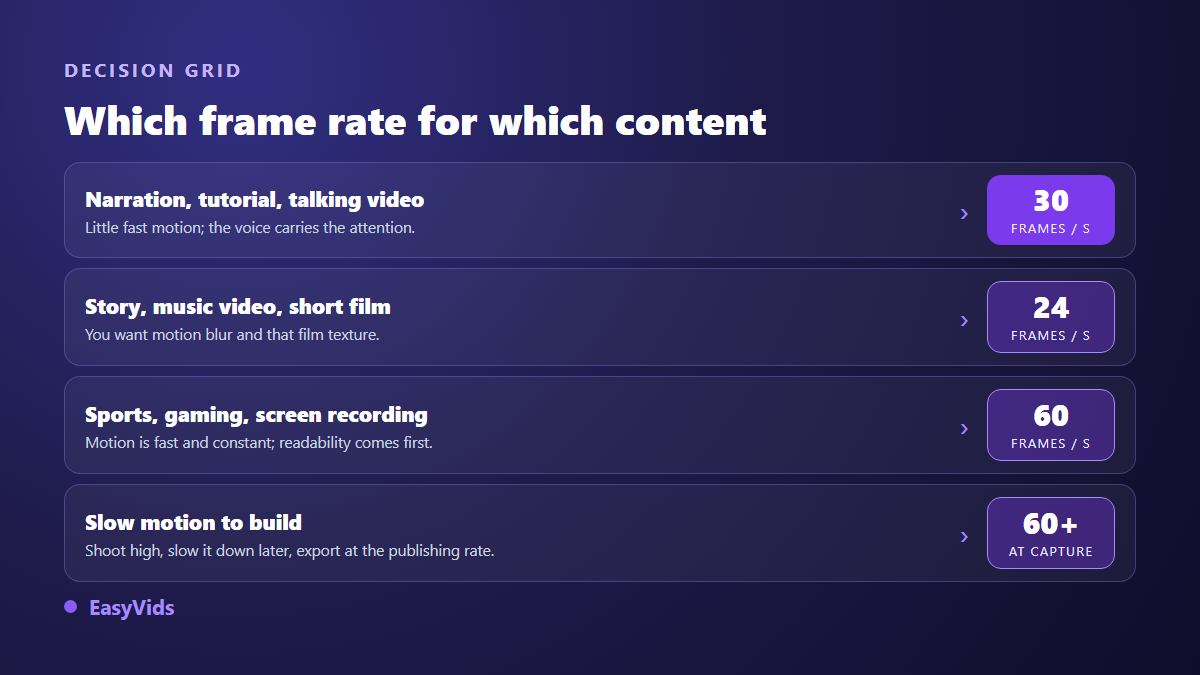
The look comes mostly from motion blur. In camera work, the 180 degree shutter rule sets exposure time at half the duration of a frame, roughly one forty eighth of a second at 24 frames. Each image keeps a light trail that ties movements together. Without that blur, a low frame rate turns choppy, which is why screen recordings, frame by frame animation and scrolling text handle 24 frames per second badly: nothing links one image to the next.
25 and 30 frames per second: the broadcast inheritance
Both values come from analogue television, and more precisely from the frequency of the mains supply. Regions running at 50 Hz settled on 25 frames per second, regions at 60 Hz went with 30, later shifted to 29.97 when colour arrived and room had to be made for the chrominance signal. That odd 29.97 still shows up in files coming out of professional cameras and editing suites, and a serious editor keeps it distinct from exactly 30.
25 stays useful in one precise case: video destined for broadcast or for playback on equipment locked to 50 Hz. It also avoids flicker when you shoot under lighting fed at that frequency. 30 has become the de facto web standard: it is the default of most phones in standard video mode, and the value online studios converge on. In our automatic assembly stage every shot is brought back to 30 frames per second before the edit, so no cut betrays a change of cadence.
60 frames per second: fast motion and nothing else
Doubling the frame rate pays off when movement is fast, continuous and central to understanding the shot. Sports action, gameplay, quick camera moves, a software demo where the cursor must stay readable: in those cases 60 frames per second is a real gain. Viewers track the action better and moving details stay identifiable. Since most screens refresh sixty times a second, that cadence maps one to one with no adjustment.
For everything else the gain is nil or negative. A talking video, a tutorial, an illustrated narration have nothing to win at 60. Worse, that extreme smoothness produces the so called soap opera effect: the picture loses its filmic texture and takes on the look of a television report. Many creators pick 60 expecting better quality and mostly get a file twice as heavy with a look they did not want.
A high frame rate never rescues a soft image
Confusing smoothness with sharpness wastes a lot of time. A video can be perfectly smooth and still look mushy, because focus was off or compression ate the detail. The reverse is true as well: a very sharp video can feel choppy when the frame rate does not match the movement being filmed. They are two independent settings, and you have to fix the right one. When footage lacks bite, the causes lie elsewhere, as our list of reasons a video looks blurry explains.
The real cost of 60 frames per second
Doubling the frame rate doubles the number of images to encode. At comparable visual quality the required bitrate rises sharply, so the file grows, the export takes longer and so does the upload. On a long video the difference becomes obvious, and it lands at the worst possible moment: when you want to publish. If the file ends up beyond what your mail service or storage accepts, our fixes for a video that is too heavy lay out the trade offs.
- A heavier file to store, back up and send.
- A longer export, since twice as many frames have to be rendered.
- A slower upload, especially on a modest connection.
- No sharpness gain: resolution and bitrate handle that, not frame rate.
- A less cinematic look on narrative content.
The conversion trap
The real risk is not picking the wrong value, it is changing value halfway. Dropping a 60 frames per second shot into a 30 frames project throws away every other frame, which usually goes unnoticed. The opposite is far more visible: a 24 frames shot in a 30 frames project forces the software to duplicate frames at irregular intervals, and the movement acquires a limp that shows up on slow pans. Converting between 25 and 30 causes the same problem.
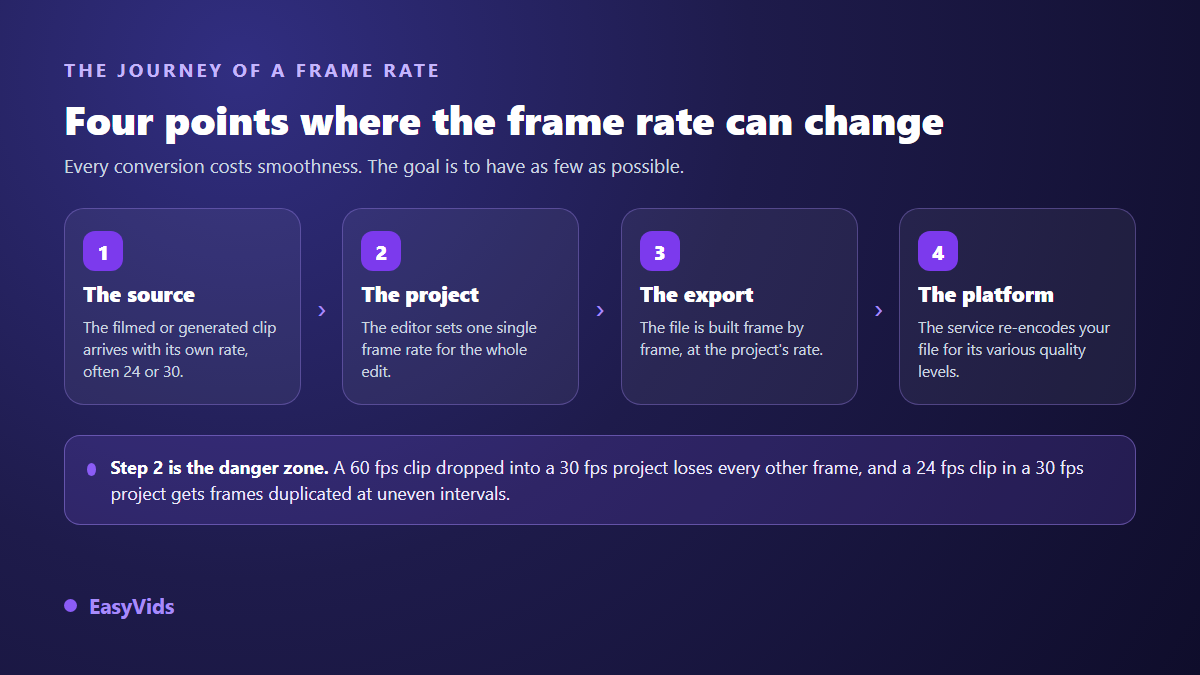
So the rule is simple: decide the frame rate when you create the project, not when you export. Match your main sources, and import the rest knowing it will be adjusted. A decent editor reads the real frame rate of every file on import, which lets you check before editing rather than discover the issue on playback. Be wary of tools promising to lift a video from 30 to 60 frames afterwards: they invent the missing images by interpolation, and it shows on the edges of moving subjects.
What platforms do with your frame rate
According to YouTube's help page on recommended upload encoding settings, in the version consulted in 2026, the common accepted frame rates are 24, 25, 30, 48, 50 and 60 frames per second, and the official recommendation is to upload content at the rate it was recorded, without prior conversion. The same page asks you to deinterlace interlaced sources before uploading. In short, the platform prefers your original cadence to a cadence tweaked to please it.
Remember too that every service re-encodes what you send in order to build several playback qualities. Your file is never served as it stands. On vertical platforms the published specifications focus on resolution, ratio and weight: frame rate is not a promotion criterion, and no known algorithm favours a video because it runs at 60. Publishing at 30 stays the neutral choice, the one that needs no special handling.
Frame rate in an AI generated video
Video models deliver clips at their own cadence, often 24 or 30 frames per second depending on the model and the length requested. If you assemble shots from several models yourself, you end up with mixed frame rates and the cuts suffer. That is why our automatic edit normalises every shot before assembly: same frame, same cadence, same audio format. That conforming step is part of the production chain described in our complete AI video generator guide.
Setting the frame rate in an online studio
In the EasyVids editor, frame rate is a project setting rather than an export option. It sits in the settings panel, under the project information tab, on the frames per second line, with a choice of 24, 25, 30, 60 and 120. The default is 30. Export then builds the file frame by frame at that exact rate, so the delivered video matches the setting on screen. If browser based editing is new to you, our guide to editing video in the browser walks through the interface.
Slow motion works differently. Smoothness in a slow motion shot is created at the source: footage captured at 60 or 120 frames per second holds enough images to be stretched without stutter. In the editor, the speed panel then slows down or speeds up an element, with marks from a quarter speed to four times normal and the option to keep voice pitch intact. A 30 frames per second shot played at half speed only leaves fifteen usable frames per second, and it stutters whatever export rate you pick.
Frequently asked questions
Should I export at 24 or 30 frames per second for YouTube?
Both are accepted. Export at the rate of your sources: 24 if the shots were filmed or generated at 24, 30 in every other case. YouTube's help page on recommended encoding explicitly asks you to keep the recording frame rate rather than convert it before uploading.
Does 60 frames per second improve video quality?
No, not in the usual sense. It improves the smoothness of fast movement and nothing else. Perceived quality comes from resolution, encoding bitrate, lighting and framing. On a talking video or an illustrated narration, moving to 60 makes the file heavier with no visible benefit.
Can I mix clips with different frame rates in one edit?
Yes, every editor allows it and each clip is conformed to the project rate. Coming down works well, going up much less: a 24 frames clip in a 30 frames project gives slightly uneven motion. When you have the choice, make your sources uniform instead of relying on conversion.
Which frame rate should I use for slow motion?
Capture or generate at 60 frames per second at least, 120 if your device allows it, then slow the clip down in the edit and export at your usual publishing rate. This is the one case where a high frame rate genuinely helps, and it helps at capture, not at delivery.
Why does my video stutter even at 60 frames per second?
Three causes come up: a frame rate conversion somewhere in the chain, an encoding bitrate too low for the number of frames, or playback on a device that cannot keep up. Check the project setting first, then play the exported file on another device before drawing conclusions.
Frame rate is a setting to touch only when you know why: 30 by default, 24 to tell a story, 60 to show movement, and above all one single value from the start of the project to the end. The rest of the quality is decided elsewhere, in the writing, the framing and the edit. To try these settings on a real project, creating an account opens the full studio, and the EasyVids studio brings generation, editing and export together in one place.